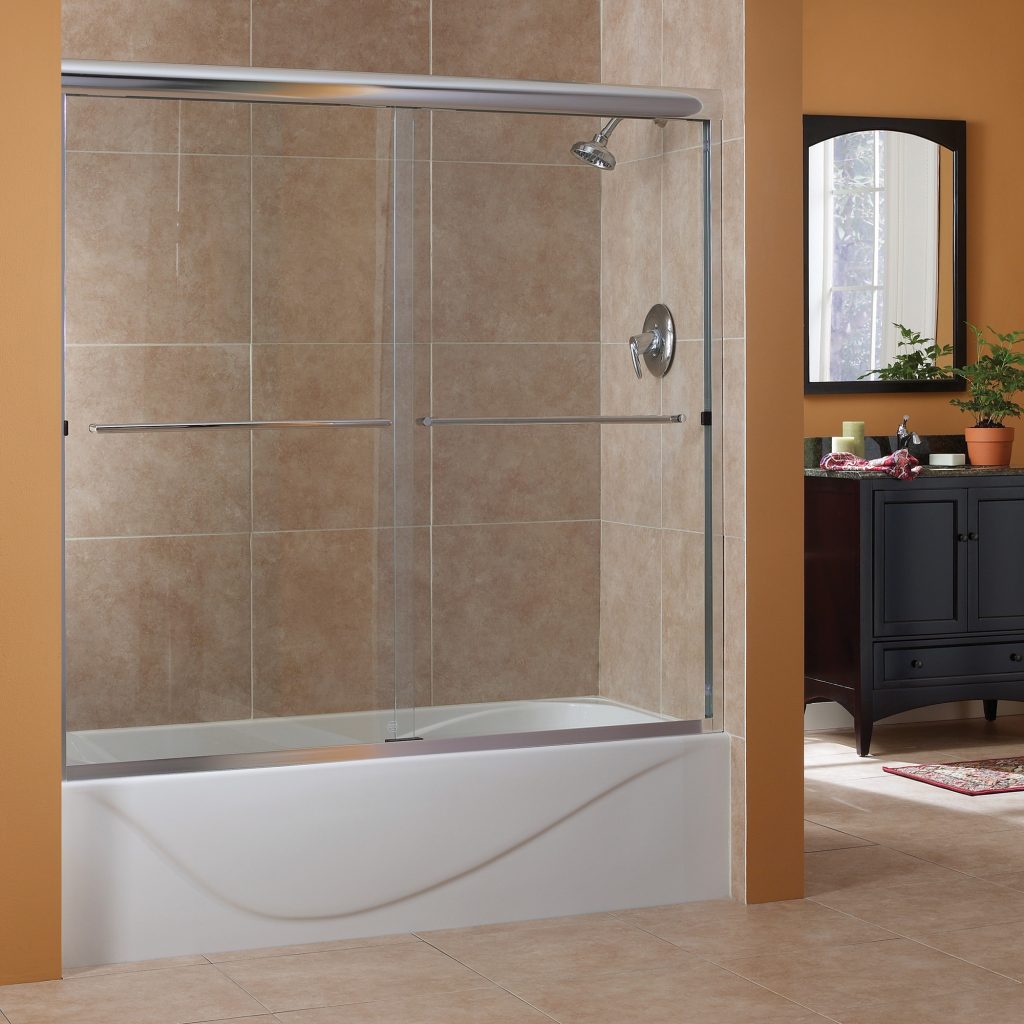
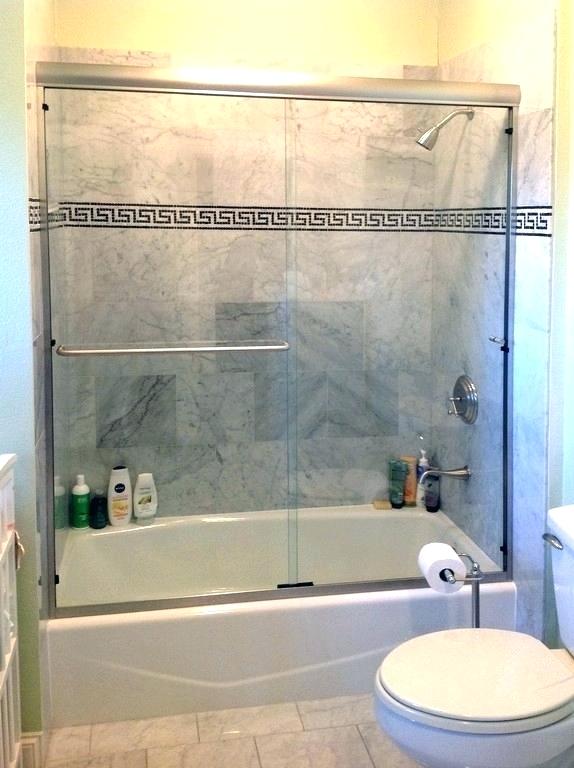
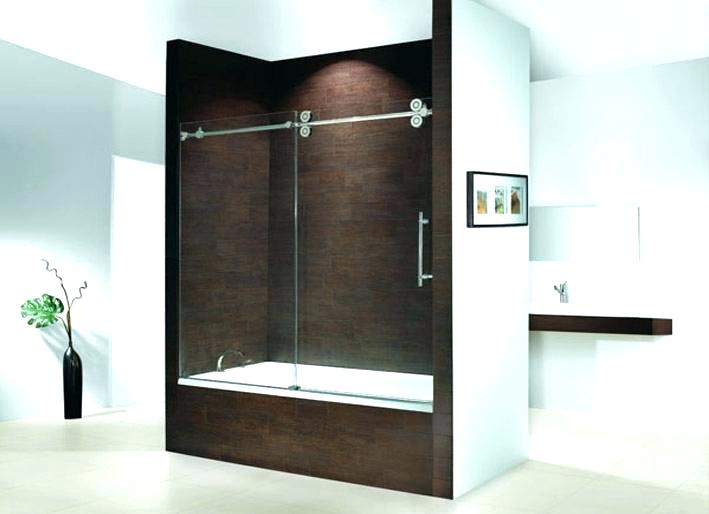
Installing bathtub doors improves the overall appearance of your bathroom, and the doors keep water where it belongs. Once installed, there is little to no maintenance other than cleaning unless you decide to upgrade and install new doors. There is a wide variety of sliding glass bathtub doors at home-remodeling centers, and they can be special-ordered to suit your style and bathroom decor.
Step 1 – Measure the length of your bathtub from end to end, then measure the height of your tub surround. Place the tip of your tape measure on the outer tub edge and measure up the wall to the top of the surround. Write these measurements down and take them with you when you purchase your bathtub doors. Without the measurements, it is likely you will get the doors in the wrong size.
Step 2 – Tape the side jambs to each end wall in an upright vertical position. The bottom of the jambs must be resting on the tub edge. Measure from the inside of one side jamb across the tub edge to the inside of the opposite side jamb. This is the length that you need to cut the bottom rail that sits on the tub edge. Use your hacksaw to cut your bottom rail to length.
Step 3 – Set the bottom rail on the flattest portion of your tub edge and leave an even amount of space at each end between the rail and the wall. Hold or tape the rail in place and trace along the outside length with your pencil. Remove the bottom rail and set it aside.
Step 4 – Set one of the side jambs on the tub edge with the outside of the jamb lined up with the line you drew on the tub. Make sure that the jamb is level by holding a level parallel to it. Use a pencil to mark the screw holes in the jamb on the tile. Remove the jamb and set it aside.
Step 5 – Use your variable speed drill and masonry bit to drill the anchor holes. Insert the provided anchors into the holes, set the jamb back in place and insert the anchor screws. Tighten the screws with your drill and a Phillips-head bit.
Step 6 – Apply a bead of silicone caulk along both sides of the underside of the bottom rail. There is a groove on each side of the rail for the caulk. Set the bottom rail on the tub edge with the end of the bottom rail sitting inside the wall jamb, and the outside edge lined up with your pencil mark. The high side of the bottom rail faces out. Install the opposite wall jamb following the same procedure as the first jamb.
Step 7 – Measure the bottom rail and divide the measurement in half. At the center mark, install the track guide on the bottom rail. Use a metal drill bit to drill a hole smaller than the size of the track guide screw. Set the track guide into the rail and secure it with the provided screw. The track guide keeps the bottom of the doors from swinging out.
Step 8 – Measure across the top of your tub from wall jamb to wall jamb. Subtract 1/32 of an inch from your measurement and use your hacksaw to cut the top rail. Set the top rail onto the end jambs. Use your drill and a metal drill bit smaller than the size of your provided screws to drill a hole through the top rail and the end jamb. The screws face the inside of your bathtub. Insert the screw and tighten. Repeat this procedure on the opposite end.
Step 9 – Install the rollers on the tops of the doors. The rollers slide into the slots at the top of the doors according to the manufacturer’s instructions. Secure them in place with the provided screws or nuts. Hang the inside door on the top inside rail and the outer door on the top outside rail.
Step 10 – Install the towel bar on the outer door. There are predrilled holes on the door for the towel bar. Hold it in position and insert the screws; tighten with a Phillips-head screwdriver.
Step 11 – Apply a bead of caulk between the side jambs and the tile on both sides of your bathtub. Wipe off excess caulk with a rag moistened with paint thinner.