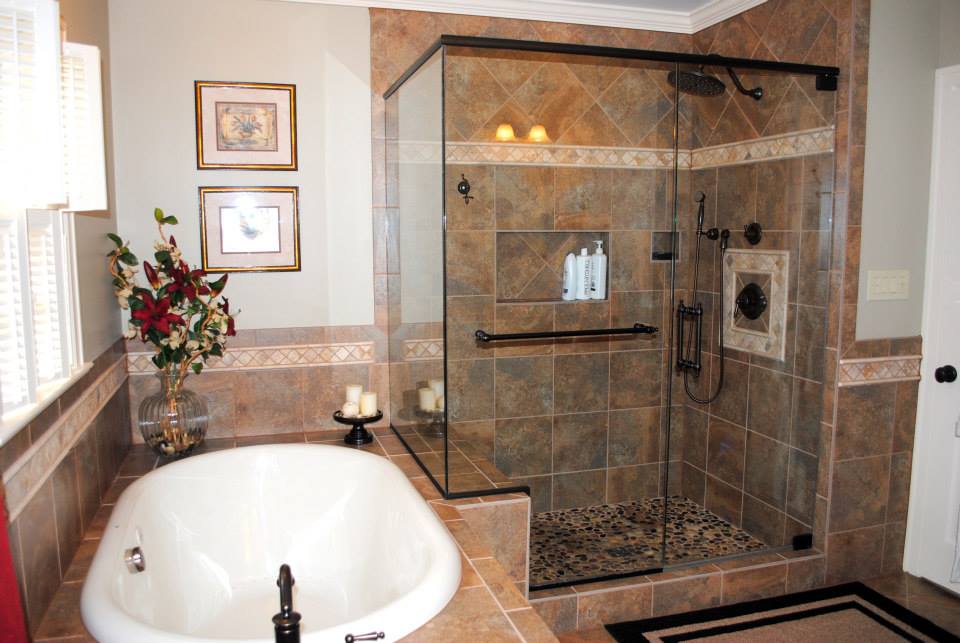
Walk-in shower frames provide you with a basic structure upon which your shower walls are built. The open nature of the walk-in frame makes it possible to construct it with some basic lumber that can be purchased at your typical lumberyard or local home improvement retail store. Walk-in frames are ideal for showers placed in enclosures where tubs once existed and the surrounding walls lend themselves to the simple installation of tile or other fabricated shower coverings.

Step 1 – Measure the space for your walk-in shower carefully to determine the exact dimensions you are going to use to build it. Also decide upon a design, such as whether or not the shower will have a bench seat in it or not. If you plan on installing a bench, Tim Carter of the Ask the Builder website recommends a minimum shower width of 30 inches and a length of 48 to 54 inches to allow enough room for a seat.
Step 2 – Clear out the existing space if you’re removing a tub or other bathroom components such as the sink or toilet. These need to be out of the way before proceeding.
Step 3 – Divide the entry way of the shower into two halves and mark a spot on the floor where the halfway mark is. Draw a 4-by-4 square around the mark with mark at the exact center of the square. Drill a hole at this halfway point to serve as a pilot hole. If you’re working on a concrete slab, you will have to take a slightly different approach.
Step 4 – Cut the 4-by-4 hole using a jigsaw. Measure and cut a 48-inch 4-by-4 beam to insert into the hole. You will have crawl under the house to attach the beam to a floor joist. Do this, leaving approximately 36 inches of the beam exposed and sticking out of the floor. Attach the beam to the joist using self-tapping wood screws. Take small level with you when you go under the house. Try to ensure that the beam sits at 90 degrees or as close as possible.
Step 5 – Measure the distance from your 4-by-4 post to the back and front wall of your shower. Cut two 2-by-4s to lay on the floor between the post and the wall. Nail these to the wood floor. If you have a concrete slab, drill holes using a masonry bolt and bolt down the boards using masonry bolts. The 2-by-4 should buttress up against the 4-by-4.

Step 6 – Measure the distance from the top of the 2-by-4 on the floor to the top of the 4-by-4. Cut two more 2-by-4 inch boards this length. At the halfway point between the 4-by-4 and the back wall of the shower, nail one 2-by-4 so that stands straight up and parallel to the 4-by-4. Nail the other 2-by-4 in the same way, but against the back wall.
Step 7 – Measure and cut one additional 2-by-4 to sit on top of the 2-by-4s and the 4-by-4. Drive 3-inch galvanized steel nails through the 2-by-4 down into the ends of the other boards.
Step 8 – Cut two 2-by-8 inch boards to fit between the two 2-by-4s and between the middle 2-by-4 and the 4-by-4. Place wood glue on the end of each of these and then screw them together using 3-inch self-tapping wood screws. These pieces should sit on their side and on top of the 2-by-4 that you nailed to the floor. They will serve as a support for the rest of the frame and an additional lip at the bottom of the shower.
Step 9 – Measure the distance between the 4-by-4 and the front wall of the shower. Cut two more 2-by-4 boards to lay flat on the space where shower entry will be. Glue and nail these boards to the other 2-by-4. Nail one in place and then place the second on top of the first. Also drive nails diagonally through the 2-by-4s into the front shower wall stud and into the 4-by-by. These boards will serve as the lip for the shower door and will help solidify the rest of the frame.
Step 10 – Finish off your shower with the covering of your choice, whether it be a cut-to-fit fabricated shower stall or tile. If you will be adding tile, you will need to take some additional steps to provide a surface for the shower tile, otherwise your shower frame will be complete.