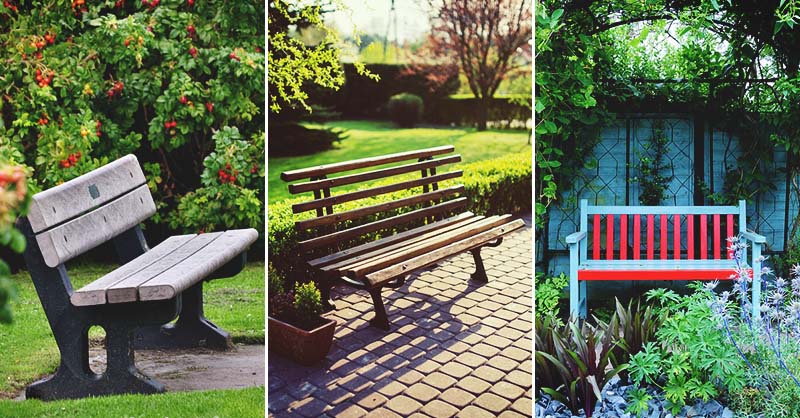
Behold the humble bench — a versatile piece of furniture with seating for two or more people found in gardens, mud rooms and front parlor windows. Building a bench is simple and its design is adaptable. A wooden bench is perhaps the easiest to construct, in terms of resources and versatility. Learn how to build a bench for the play room or the rec room with a little investment in wood and hardware and you’ll have it for years.
Building a Bench
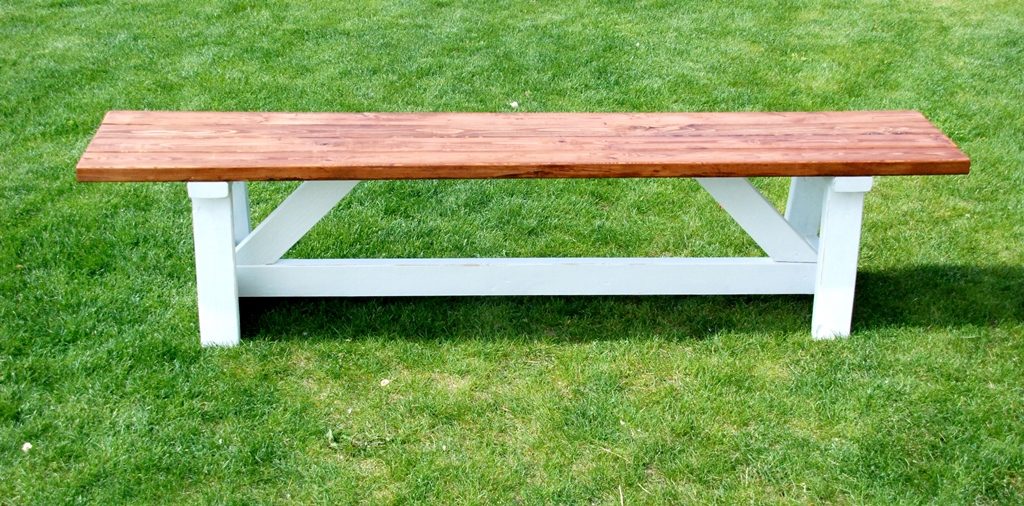
Plan your bench for its location. What size should it be? Will it be basic or fancy? Is it for a picnic table or a window seat? Decide what you want your bench to look like. A simple, three piece wooden bench is fine for the kids to sit on to take their boots off in the mud room but you may want a bench with a back for the porch or garden. Anticipate how your bench will be used. Building a bench with a simple bracket brace along the joint between the legs and seat is fine for a bench with short legs or seat but you may want a bench with bracing if it will be longer than three or four feet — or if it will be used for longer seating periods such as at a picnic or kitchen table. How to build a bench: Start with the legs. For simple benches, cut two equal lengths (14 to 18 inches is good) of one x eight- to ten-inch pine. Screw a piece of 1 x 2 into the leg, flush with the top of each leg to form a platform for the seat. Or, cross two 2 x 4s, bolt at the junction and cut tops and bottoms off flat. The cross should be at the halfway point on each 2 x 4 and plumb line dropped from the intersection should land halfway between the two legs. Crossed legs will need a bracket brace at the top and a cross brace is customary.
For a bench with a back, build two “h” shaped frames out of 2 x 4s. Use two h-frames for a simple garden bench and three or more for a long bench. Fasten your legs together with dowels or bolts. Use 1 x 4 to ten inch pine to make your seat and back. Use a number of narrower seat pieces rather than one wide piece for long benches or for heavy use benches. Cut all pieces the same length. If you want to have a curved bench, lay out your pieces and turn the legs over on top of them, and lay out a pattern on craft paper or newspaper to use for all of the benches you plan to make. Sand all of your pieces of the wooden bench before assembling. This will save time–and splinters–as you assemble.
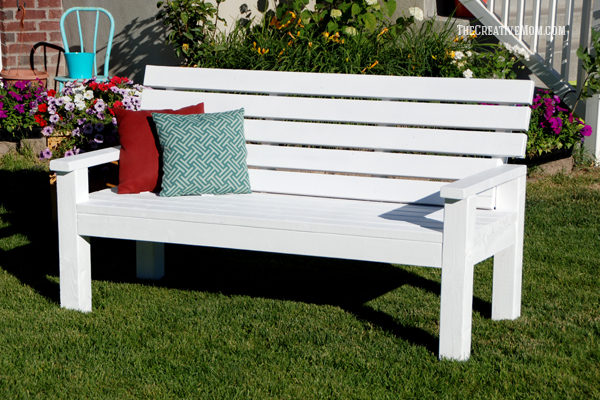
Prime wood that will be painted and seal wood that will be outdoors. Make sure that your seat sits flat (and your back pieces fit without having to twist). Turn the seat over and attach the leg brackets to the seat. If you’re adding cross braces, cut pieces of 2 x 2 with 45-degree angles at each end to fit between the bottom of the seat and legs. Screw these in perpendicular to the seat and leg-don’t slant them with the brace. Countersink when possible. If you have a back on your bench, attach it last, starting with the top slat and ending in the middle if you have more than one or two slats. Paint or varnish your bench and add a cushion if you wish to make a little attractive additional seating for your home.